Welcome to the first post on diggit-metal, the first thing we’re trying to figure out today is:
How little do you need to actually get something running on your hugo site?
This article is going to assume some things about you, or at the very least, has some stipulation’s you’ll have to understand to have proper content. If you’re following along it’s assumed:
- Use of linux, particularly, Arch.
- Being comfortable running linux.
- Being comfortable with using the command line.
- Having access to a remote VPS.
- Owning a domain you can point at said VPS.
If you don’t meet all the criteria here, you may have to pick your battles with what we’re going to go over. That said, the core content related to hugo should be applicable to most people trying to get started with a hugo site. If you’re not particular to Linux, or even Unix, you can skip the deployment section, and look at something like Github pages
The Recommended Way
If you’re familiar with the quick start tutorial, you’ll know that it doesn’t take make much to get started. Once you’ve got the hugo binary installed on your computer, you just need these commands to get some rendering going:
hugo new project quickstart
cd quickstart
git init
git submodule add https://github.com/gohugo-ananke/ananke themes/ananke
echo "theme = 'ananke'" >> hugo.toml
hugo server
If you open up the link, in my case http://localhost:1313, you’ll see the standard splash page for the ananke theme. Then, if you follow the docs a little futher, you can create your first blog post with:
hugo new content content/posts/my-first-post.md
After you re-render the site with hugo server -D (the D is for DRAFTS), you’ve got a blog post and you’re off to the races. This is all fine and dandy, but what happens if you want to skip this part?
git submodule add https://github.com/gohugo-ananke/ananke themes/ananke
echo "theme = 'ananke'" >> hugo.toml
The Commendable Way
This post isn’t a reiteration of the The Recommended Way, we’re here for The Commendable Way of setting up hugo, which is to say: for your own gratification and learning. To emphasize the point, we’re trying to get started without a theme. Bryce Wray makes some excellent points of why you’d want to do this in his blog post where he writes his own getting-started for hugo without a theme. If you’re looking for the themeless quick-start, I’d suggest starting there. We’re here for the process.
Spinning up the Project
Here, we’re going to rehash the quickstart from The Recommended Way, and see what we get.
hugo new project diggit-metal
cd diggit-metal
git init
hugo server -D
The log has a few warnings, we’ll come back to that.
WARN  found no layout file for "html" for kind "home": You should create a template file which matches Hugo Layouts Lookup Rules for this combination.
WARN  found no layout file for "html" for kind "taxonomy": You should create a template file which matches Hugo Layouts Lookup Rules for this combination.
WARN  found no layout file for "html" for kind "section": You should create a template file which matches Hugo Layouts Lookup Rules for this combination.
Then, we go to http://localhost:1313…
That makes sense. There are no layout files so there are no templates to render my blog post, much less the front page. The web engine starts, though, and I’ve got a working site, so that counts for something, right? What happens if I just build my site? I can do that by just running:
hugo
Which if I tree my public/ folder…
❯ tree public
public
├── categories
│   └── index.xml
├── images
│   └── my-beautiful-hugo-site.png
├── index.xml
├── posts
│   ├── index.xml
│   └── my-beautiful-hugo-site.png
├── sitemap.xml
└── tags
    └── index.xml
It works! It outputs files and, while I love that it performs on a minimal setup, it’s not exactly what we’re looking for. We’re trying to get something that resembles a website.
What Do You Mean I Need Templates?
This is the work we have to do ourselves: setting up the overall structure of our site. For our purposes, knowing the template types should be sufficient, so we know the expectations. The WARN logs said that it’s looking for home, taxonomy, and section templates.
[!note] Front-End Witchcraft If you’re not familiar with web templates, they’re how a lot of the internet tries render content consistently without having to rewrite or copy-paste. A lot of rendering systems do it differently, but Hugo’s template system is good example of the general structure that most abide by.
So what happens if we just populate a layouts/home.html file? Just a blank one.
WARN  found no layout file for "html" for kind "taxonomy": You should create a template file which matches Hugo Layouts Lookup Rules for this combination.
WARN  found no layout file for "html" for kind "section": You should create a template file which matches Hugo Layouts Lookup Rules for this combination.
WARN  found no layout file for "html" for kind "page": You should create a template file which matches Hugo Layouts Lookup Rules for this combination.
Neat, what if we just fill in everything it asks for? If you go one by one like I did, the warnings slowly disappear, but you’re still left with a Page Not Found. We’ve come to the point where we can’t just caveman our way through log responses.
Typing the Useful Things First
From the top at the templates page the first thing represented is the base template. This template usually consists of your usual, top-level html tags that define your site. It’s not necessary, but it’s smart to try and render this first. I’ll go with a simple version of the one in the tutorial site. I don’t have a bunch of partials(yet) to insert into my page.
[!note] Partials of… what? Partials are type of template where only a small section of the page is rendered. In a lot of template systems rendering typically starts with the foundational template, like Hugo’s
baseof.html. Then, there’s some syntaxt in that which renders the template of the real page you’re trying to show to the user, likehome.html. Any template rendered elsewhere that isn’t the real page template is usually referred to as a partial.
<!DOCTYPE html>
<html lang="{{ site.Language.Locale }}" dir="{{ or site.Language.Direction `ltr` }}">
<body>
  <main>
    {{ block "main" . }}
      If you can see this. Something went wrong.
    {{ end }}
  </main>
</body>
</html>
Now to get a page, let’s populate the home.html template. We’ll use the Hugo’s documentation default, because otherwise we’re just going to get a blank page.
{{ define "main" }}
  {{ .Content }}
  {{ range .Site.RegularPages }}
    <h2><a href="{{ .RelPermalink }}">{{ .LinkTitle }}</a></h2>
  {{ end }}
{{ end }}
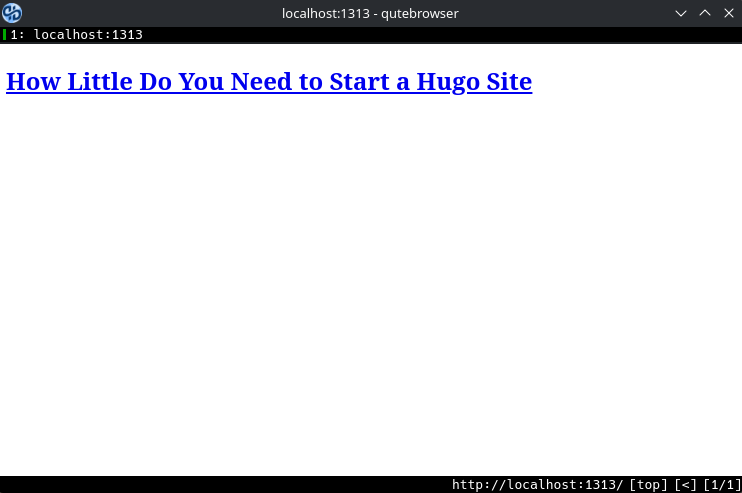
Which gives us…
Then, just to get ahead of it, we’ll populate page.html with the bare minimum.
{{ define "main" }}
  {{ .Content }}
{{ end }}
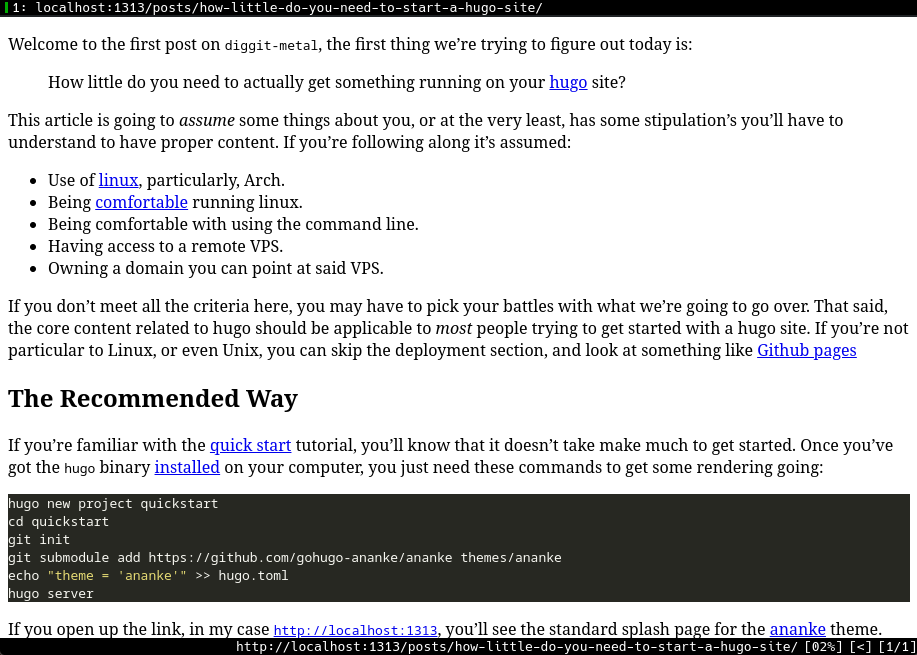
Now that’s what I call a fuckin’ website, but the goal will be to one day make it better like the best fuckin’ website. If you’re catching this page on the first day, you’ll probably notice that nothing works. It turns out a lot of layouts provide render hooks to make youre formatting look good, but that will have to be the subject of another post.
Inflicting Your Website Unto the Internet
Now that I have my beautiful project, I just need to do a couple of things. First, we need to take this article out of draft by setting the draft key in the frontmatter to false on the post. This signals to hugo that your content is ready to be included with the rest of your aticles. It’s important to remember that while developing more content, you may need to change other parts of your site. Using drafts lets you hide the posts you aren’t proud of until they’re ready.
Now the moment of truth.
hugo
That’s it. We have a packed public folder, now we need to send it out to be served to the rest of the world. This is where we stretch a bit beyond the realm of hugo into regular old hosting. If you’ve got a box you’re comfortable exposing to the internet and a domain that points to it.
Creating the Digital Bird’s Nest of your Blog(Directories)
Shell into your VPS on a user that has sudo access. Then, make a directory to store your hugo files. The classic hosting location is /var/www, with your site being served as a directory under there(e.g: /var/www/diggit-metal). You can accomplish this with:
sudo mkdir -p /var/www/diggit-metal
This will create a directory that’s owned by root. You’ll want to ensure its got permissions to be written to by the user who be placing files into it(namely, you.).
# bilge is me!
sudo chown bilge:root /var/www/diggit-metal.
This will make it easier for your to update your content, which your proxy should be able to see as long as the files are world readable. Generall, your distro is going to set a sensible umask so that this shouldn’t be an issue.
[bilge@asher diggit-metal]$ ls -lah
total 8.0K
drwxr-xr-x 2 bilge root  4.0K Jun  6 18:47 .     <--/var/www/diggit-metal
drwxr-xr-x 3 root  root  4.0K Jun  6 18:36 ..    <--/var/www
-rw-r--r-- 1 bilge bilge    0 Jun  6 18:47 a.file
       ^--------------------------------------------The world-readable bit for files.
drwxr-xr-x 2 bilge bilge 4.0K Jun  6 18:48 a_dir
       ^-^------------------------------------------The world-readable bit for directories AND the
                                                    execute perm, which allows directory traversal.
Now that we have a place to store our files, we need a web server to host it to the internet.
Caddy’s the Best, Use Caddy to Proxy your Content
Of all the popular web servers I am familiar with, Caddy has to be my favorite. Among its list of features, it boasts automatic SSL, which just works. If you have an endpoint with a dns entry pointing to it, Caddy pretty easily sets up SSL so that your site can operate with HTTPS.
If you’re still on your host, install caddy.
sudo pacman -S caddy
This sets you up with a basic Caddyfile at /etc/caddy/Caddyfile. To get your blog going you’ll need to add an entry for your website. For an entry that responds to the url https://diggit-metal.com and whose files are located at /var/www/diggit-metal, you need to something like this:
diggit-metal.com {
    root /var/www/diggit-metal
    file_server
    encode gzip zstd
}
Then, spin up caddy.
sudo systemctl start caddy
Now, witness greatness.

Shit, I forgot the files.
rsync, the Proverbial Catapult of Your Content
Hugo’s documentation has a great spread on how to get your files out to the world. We’re going to use the rsync method because:
- It’s the best for our use case
- It’s simple*
*Sometimes it’s not simple.
If you didn’t just skip to this part, then you’ll know we’ve already got ssh access set up with the remote machine. So really it’s just a matter of crafting the command that will make it simple, dare I say trivial, to force our blog upon the internet. There’s a great one at the top of hugo’s rsync documentation.
hugo && rsync -avz --delete public/ www-data@ftp.topologix.fr:~/www/
Beautiful. Elegant. This sort of stuff sets off dopamine C4 in my head. If you’re not all that familiar with the shell syntax and the tools:
[!note] What is this internet sorcery There are few moving parts here, but it breaks down like this:
hugoruns, publishing the blog to the public directory&&acts effectively as a line break with the added benefit of lazy evaluation. Ifhugofails, thersynccommand does not run.rsyncperforms an incremental transfer the remote host
- The
-aflag(archive) is actually seven flags, the same thing is as running-rlptgoD.
-rfor recursive copying, everyting in the target will copied.-lcopies over symlinks instead of ignoring them.-psets read-write permission on the destination as the same as the source.-ttransfers over the modification times as well.-gsets the group to match the sender’s group, instead of the user performing the receive at the destination.-osets the owner to match the sender, instead of the user performing the receive at the destination.-DYet another combination flag for rsync for sending over special types of files like devices and sockets.
--devicesTransfers character and block device files to the remote system to recreate them.--specialsTransfers sockets and fifos to the remote.- The
-vflag is for verbosity. Rsync runs by default, so we’ll actually see the output as it runs.- The
-zflag is is short for--compress, probably meant to stand forzstd, this compresses the data prior to sending it over the internet to reduce the amount of bytes needed for the transfer.- The
--deleteflag will remove any files on the receiving side that don’t exist on the sending side.public/is the sending directory. Keep in mind this trailing slash means the contents of public will be dumped in the directory we’re aiming these files at.www-data@ftp.topolgix.fr:~/www/is setup with a remote sending syntax as our destination. -www-datais the user who we’re shelling into on the remote. -ftp.topolgix.fris our remote server address -~/www/is the directory we want the files to go into.
Do we need all of this? Nah. rsync -avz is a common pattern on the internet for transferring files, but the purpose of those flags, the -a flag in particular, is to create a backup of your files. This way when you rsync from the other direction, all of your files are exactly as they were when they left your machine, symlinks and all. Since we’ve set up the directory with the right perms, we only need the -r flag to pull everything over, this is a one way trip after all.
hugo && rsync -rvz --delete public/ bilge@asher:/var/www/diggit-metal/
Only a few changes:
- We use
-r, like we’ve said since we’re not archiving. - We’re using my user
bilge. - We’re aiming at
asher, which is the name for my target host in my~/.ssh/config. - We’re placing the files in a
/varbased directory instead of a/homedirectory.
[!note] But I like placing stuff under
/homeMore power to you! But the purpose of/homeis to be storage point for either personal or staging files. Even on your own system where there are no compliance officers to wag their fingers at you, you should usually consider storing your internet-facing files under a place like/var. That, and some systems get stuffy when they see files that are in home directories that shouldn’t be.
Where does that put us? On the internet!

And then, ultimately, the content.
Was it Worth it?
Yes! At least I thought it was worth it. There’s so much you can learn by manually building these things, and trully that’s how you can get around to building great things with Hugo. I would even challenge someone in saying that if you’re using something like hugo, you owe it to yourself to give this process a go so that you can at least appreciate some of the heavy lifting that some hugo’s themes do for you. There are some advanced features that you would think would work out of the box, but if you treat it like I do, hugo does not hold your hand.
For me, I intend to do a little bit more building of the features myself. I’d like to cultivate my own theme, and write a bit more about my process getting there.